
Last Updated: Sep 21, 2026
 The UPS shipping module in InfiPlex Inventory & Order Management System (OMS) does two things: pulls live UPS rates for your webstore checkout, and buys UPS labels for your orders so shipping happens from the same screen as everything else. Both use your own UPS.com account. Many sellers instead route UPS labels through EasyPost or ShipStation; this guide covers the direct UPS module.
Step 1: Get Your UPS Access Key
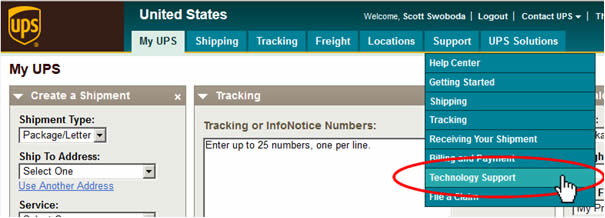
- Log into UPS.com and open Technology Support under the Support menu.
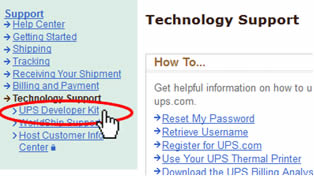
- Choose UPS Developer Kit in the left navigation.
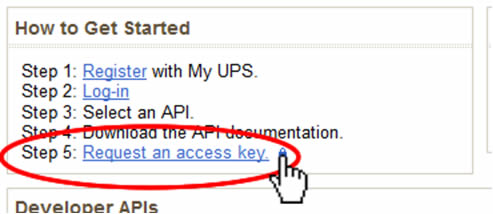
- Click Request an Access Key (step 5 in the How to Get Started box).
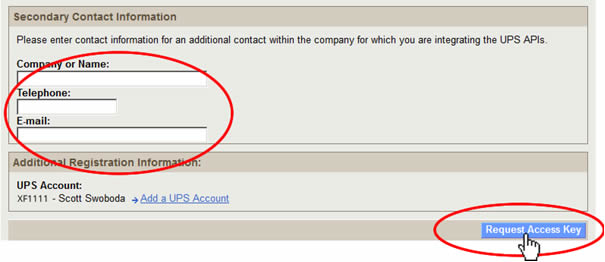
- Enter the secondary contact for the person managing your UPS integration and click Request Access Key.
- The confirmation page lists the new access key and the UPS account tied to it. Copy and save the key. UPS does not show a list of keys later; keep the confirmation email as well.
Step 2: Live Rates Settings
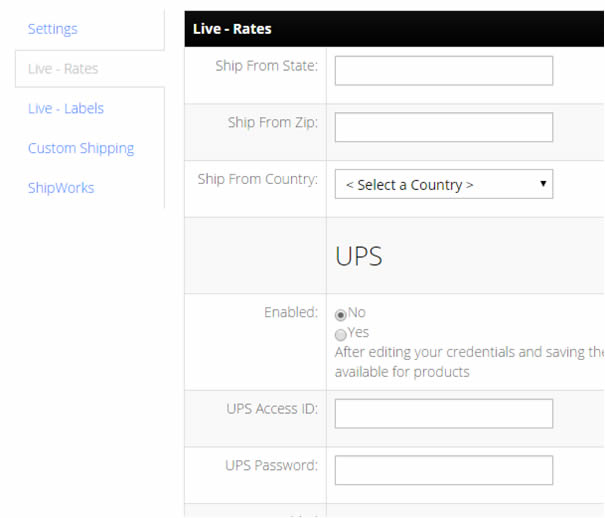
Go to Shop > Settings > Shipping > Live Rates and complete the required fields, save, then return and check the UPS services you want offered at checkout.
- Ship From State, Zip, and Country
- UPS Access ID: the access key from step 1
- UPS Password: your UPS.com account password
Step 3: Live Labels Settings
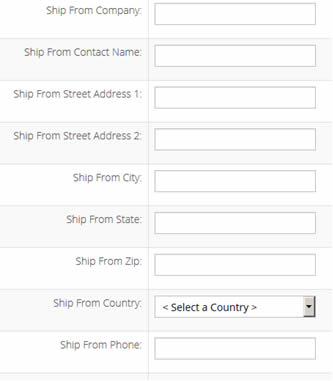
Live Labels lets you buy UPS labels for orders directly in InfiPlex. On the Live Labels page:
- Fill in the ship-from information at the top; this is the address UPS prints as the origin.
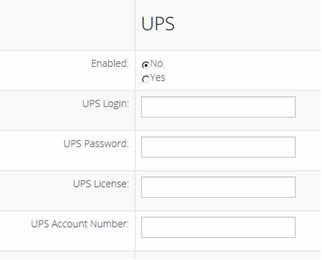
- Complete the UPS fields and enable UPS:
- UPS Login: your UPS.com user name
- UPS Password: your UPS.com password
- UPS License: the access key from step 1
- UPS Account Number: your UPS shipper account number
- Click the green Save button at the bottom of the page.
Live rates and label printing are now active. Labels are bought from the Order List with the Create Label/Package flow.
Set-up Support
Contact InfiPlex with any UPS questions. Support is included with every InfiPlex package.