
Last Updated: Sep 21, 2026
 InfiPlex Inventory & Order Management System (OMS) exchanges orders and tracking with UPS WorldShip through WorldShip's XML import and export utilities. Orders download from InfiPlex as a WorldShip batch file, you ship in WorldShip, and the end-of-day export uploads tracking numbers back to InfiPlex, which forwards them to each marketplace. This guide covers the one-time set-up on both sides and the daily routine.
Step 1: Enable WorldShip in InfiPlex
- Go to Settings > Base Settings, Miscellaneous tab:
- ups_worldship_enable: Yes. This turns on the WorldShip download and upload tools. The remaining settings can stay at their defaults.
- ups_worldship_export_type: batch (default). Use only batch; auto-import needs additional set-up and programming.
- ups_worldship_export_enable_forward_service: Yes (default)
- ups_worldship_export_enable_usps_tracking: Yes (default)
- ups_worldship_export_enable_delivery_confirmation: Yes (default)
- ups_worldship_export_enable_usps_delivery_confirmation: Yes (default)
- On the Standard tab, set auto_create_package_on_order to Yes so each new order gets a package automatically. Without it you add packages by hand before orders can download.
- Save. The Order List page now shows the WorldShip Download and WorldShip Upload controls.

Step 2: Create the Two Maps in WorldShip
Use a manual XML import, not auto-import.
- Import map. Import-Export tab > Create/Edit Map > New Map: Import from XML, Map Type: Shipment XML, Name: OMS-Orders > Create. When prompted for the folder WorldShip watches for XML files, the existing
C:\UPS\WSTD\ImpExp\Shipment\folder is the simplest choice, or pick your own. OK, then Close. - Export map. Import-Export tab > Create/Edit Map > New Map: Export to XML, Map Type: Shipment XML, Name: OMS-XML-Export > Create. When prompted, create a folder such as "WorldShip Exports - Order Tracking Numbers" on your desktop; the export files you upload to InfiPlex land there. OK, then Close.
Daily Routine: Orders Out, Tracking Back
- Download orders from InfiPlex. On the Order List, click WorldShip Download and save the XML file into the import folder from step 2. The download includes every order that is not Fully Shipped and has not been downloaded before. Run it as often as you like during the day; an order downloads once. If you delete a shipment inside WorldShip, re-enter it by hand, since it cannot be downloaded again. An order can be marked Fully Shipped manually from the order detail if it should be excluded.
- Import into WorldShip. Import-Export tab > Batch Import > Batch Import, choose the OMS-Orders map, leave the checkboxes clear, Next through the prompts. The final dialog lists the imported shipments.
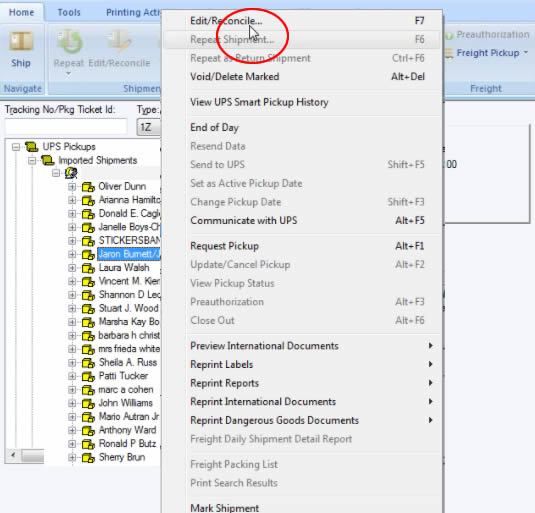
- Ship in WorldShip. Finalize each shipment and print labels as usual. To find an imported order, use History on the Home tab (F3), Search History, enter the Reference 1 or Reference 2 number, and choose "Any Package Reference No". To edit an imported shipment, select it in History and right-click or press F7.
- Export tracking at end of day. Import-Export tab > Batch Export, choose the OMS-XML-Export map, select "All records on or after" today, Next through the prompts. WorldShip exports one day at a time, so run this when the day's shipping is finished.
- Upload to InfiPlex. Use the WorldShip Upload form at the top of the Order List and choose the export file. Tracking numbers attach to their orders automatically and marketplace orders send tracking to their marketplace. For InfiPlex webstore orders, open the order and click Email Shipment Info to notify the buyer.
Set-up Support
Contact InfiPlex with any UPS WorldShip questions. Support is included with every InfiPlex package.