
Last Updated: Sep 21, 2026
 InfiPlex Inventory & Order Management System (OMS) connects to ShipStation as a Custom Store. ShipStation pulls every incoming order from InfiPlex, regardless of which marketplace it came from, and sends tracking back to InfiPlex, which forwards it to each marketplace. New to ShipStation? Start a trial through the InfiPlex link.
Step 1: ShipStation Settings in InfiPlex
Log into your InfiPlex OMS site, go to Settings > Shipping, and open the ShipStation tab. Create a user name and password; these are the credentials you will enter in ShipStation's Custom Store form. Click Save.
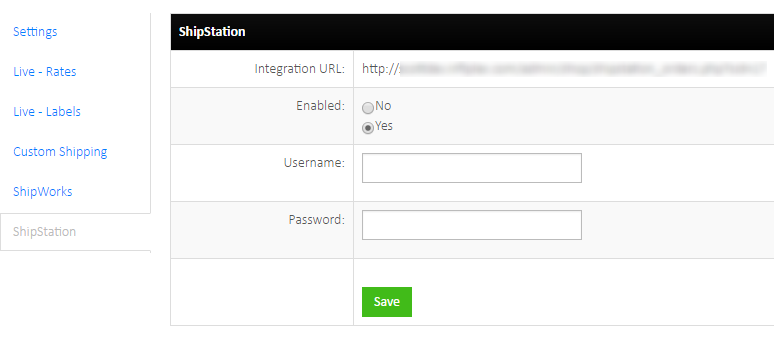
Step 2: Add the Custom Store in ShipStation
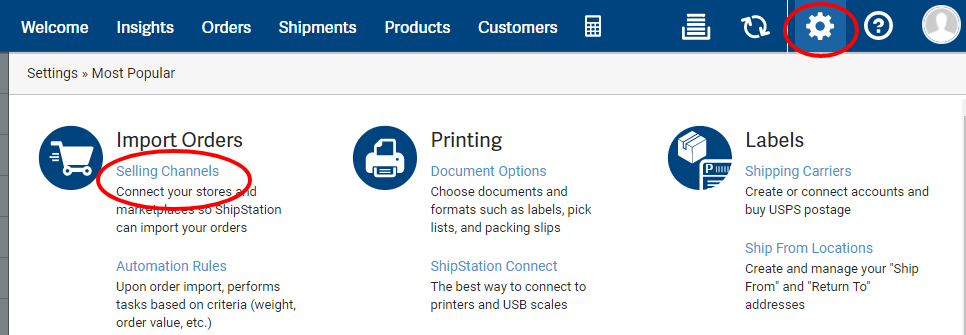
- In ShipStation, click the Settings icon in the top right, then Selling Channels.
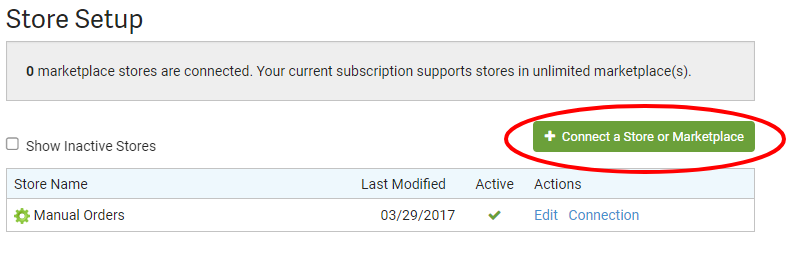
- Click the green Connect a Store or Marketplace button.
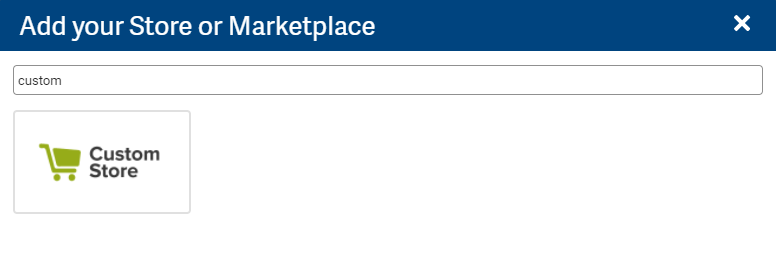
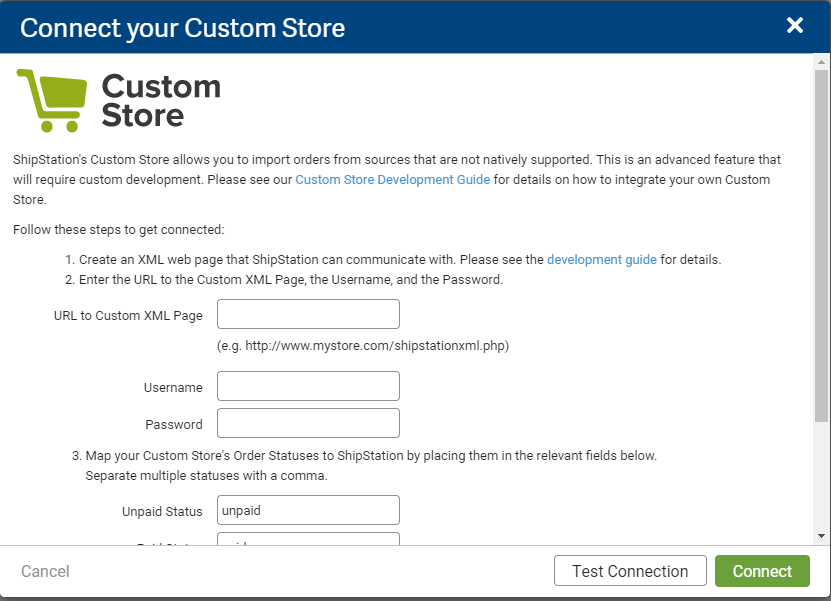
- Search "custom" and choose Custom Store.
- Enter the URL, user name, and password shown on the InfiPlex ShipStation settings page. ShipStation's Custom Store help explains the remaining fields.
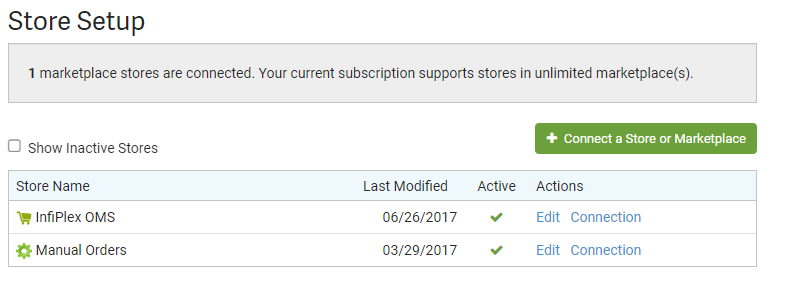
- Use Edit in the Store Setup list to change the display name or turn on auto-update.
Pulling Orders
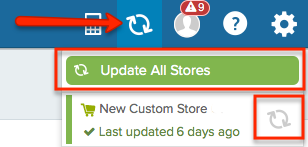
Orders pull into ShipStation automatically if auto-update is on for the Custom Store, or on demand with the Update icon in the top menu.
Order Numbers and Custom Fields
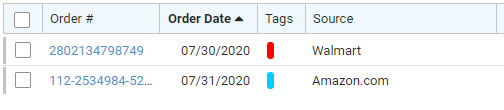
The order number in ShipStation is the marketplace's own order number, which is what third-party shipping accounts for Wayfair, Overstock, Walmart DSV, and similar retailers require.
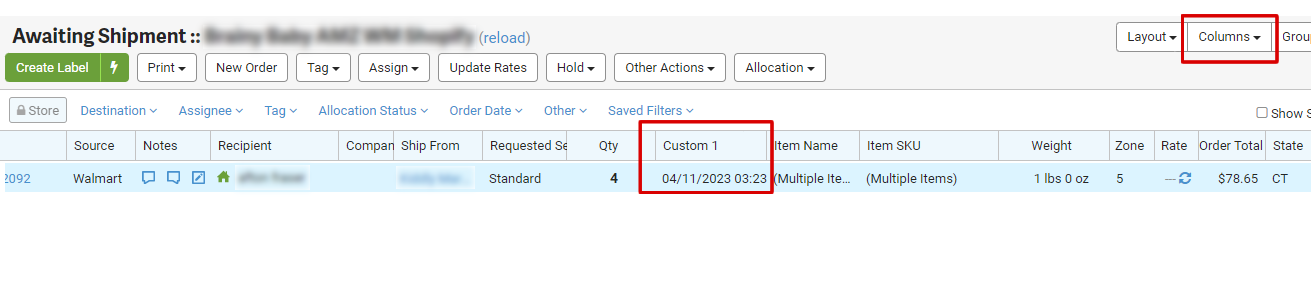
Where a marketplace supplies a ship-by date or a second order ID, InfiPlex passes them in ShipStation custom fields:
- CustomField1: Ship By Date
- CustomField2: Additional Order ID
Add either as a column on the ShipStation Order List with the Columns button in the upper right, and sort by it.
Set-up Support
Contact InfiPlex with any ShipStation questions. Support is included with every InfiPlex package.