
Last Updated: Sep 21, 2026
 The InfiPlex Shopify OMS App connects Shopify to every other marketplace you sell on: one inventory pool, one place to ship. This guide covers the four steps to get a new Shopify OMS App account running.
Step 1: Add Marketplace Keys
Each connected marketplace needs its own access keys so InfiPlex can pull orders and send tracking and inventory back. The Getting Started page in the main menu lists every available marketplace; open one and follow its set-up instructions to get the keys.
Step 2: Let Shopify Products Download
The app downloads your full Shopify catalog automatically on connection, and checks daily for new SKUs. Track progress on the Sell On tab, which shows what has downloaded per marketplace. The purple Download SKUs button on each marketplace pulls its active SKUs and flags them Sold On that marketplace.
Step 3: Set Your Inventory Levels
Update individual SKUs on the Inventory page, or bulk-update with a .csv on Tools > Price & Inventory Tools.
Step 4: Ship Your New Orders
Once a marketplace is active, its orders pull in and inventory updates go out to every connected channel. InfiPlex connects to these carriers and shipping platforms:
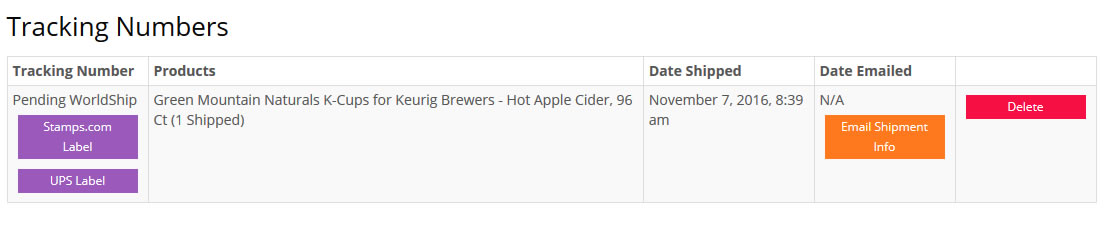
Connected directly to a carrier like UPS or Stamps.com, labels print from purple buttons in the Tracking Numbers area of the order detail page.
Using ShipStation or ShipWorks instead, shipping is managed inside that application and tracking flows back to InfiPlex, which forwards it to your marketplaces.
Set-up Support
Contact InfiPlex with any the Shopify OMS App questions. Support is included with every InfiPlex package.